

Parkside D.I.Y. Offers In-Store From Thursday 2nd May
20V Robot Lawnmower FAQs

Switching on the lawn mower
1. Press and hold the START button for approx. 3 seconds until the display lights up.
2. Set the desired language. Select with the arrow buttons and confirm the selection with the OK button.
3. Set the date and time with the arrow buttons.
Confirm the selection with the OK button. The individual positions can be navigated with the OK button
Changing the PIN
1. If necessary, open the cover.
2. Unlock the display with the 4-digit PIN. (preset is 0000 or 1234)
3. Press the OK button to enter the main menu.
4. Use the arrow buttons to select “Settings”.
5. Confirm the selection with the OK button.
6. Use the arrow buttons to select “Change PIN”.
7. Confirm the selection with the OK button.
8. Enter the old 4-digit PIN. If you have entered the PIN incorrectly, use the back button to return to the PIN entry.
9. Now enter a new PIN.
10. Confirm the new PIN by entering it again. If you have entered the PIN incorrectly, return to the PIN entry with
the back button and repeat steps 8 and 9.
11. You can recognise a successful change when “Successful!” appears on the display. Return to the main menu with the back button.
Laying the boundary wire
Lay the boundary wire around the lawn area to be worked by the lawn mower. You can do this as follows:
- Stake out the lawn area. Fasten the boundary wire with the hooks (above ground).
- Stake out the hooks at a maximum distance of 1 m. Use additional hooks if the ground is uneven.
- Bury the boundary wire (11) in the ground (max. 5 cm deep).
The lawn mower crosses over the boundary wire by about 20 - 30 cm before it turns around and searches
for a new path. Install the boundary wire accordingly to prevent damage.
For the initial installation, we recommend marking out the boundary wire (11) with the hooks (13) in case corrections need to be made at a later date.
The mower works perfectly with a boundary wire length of up to 200 m.
The lawn area must be bordered as a single enclosed area.
Sure, feel free to christen your new robot friend with whichever name feels right.
Click here for instruction manual
Parkside D.I.Y. Offers In-Store From Monday 6th May
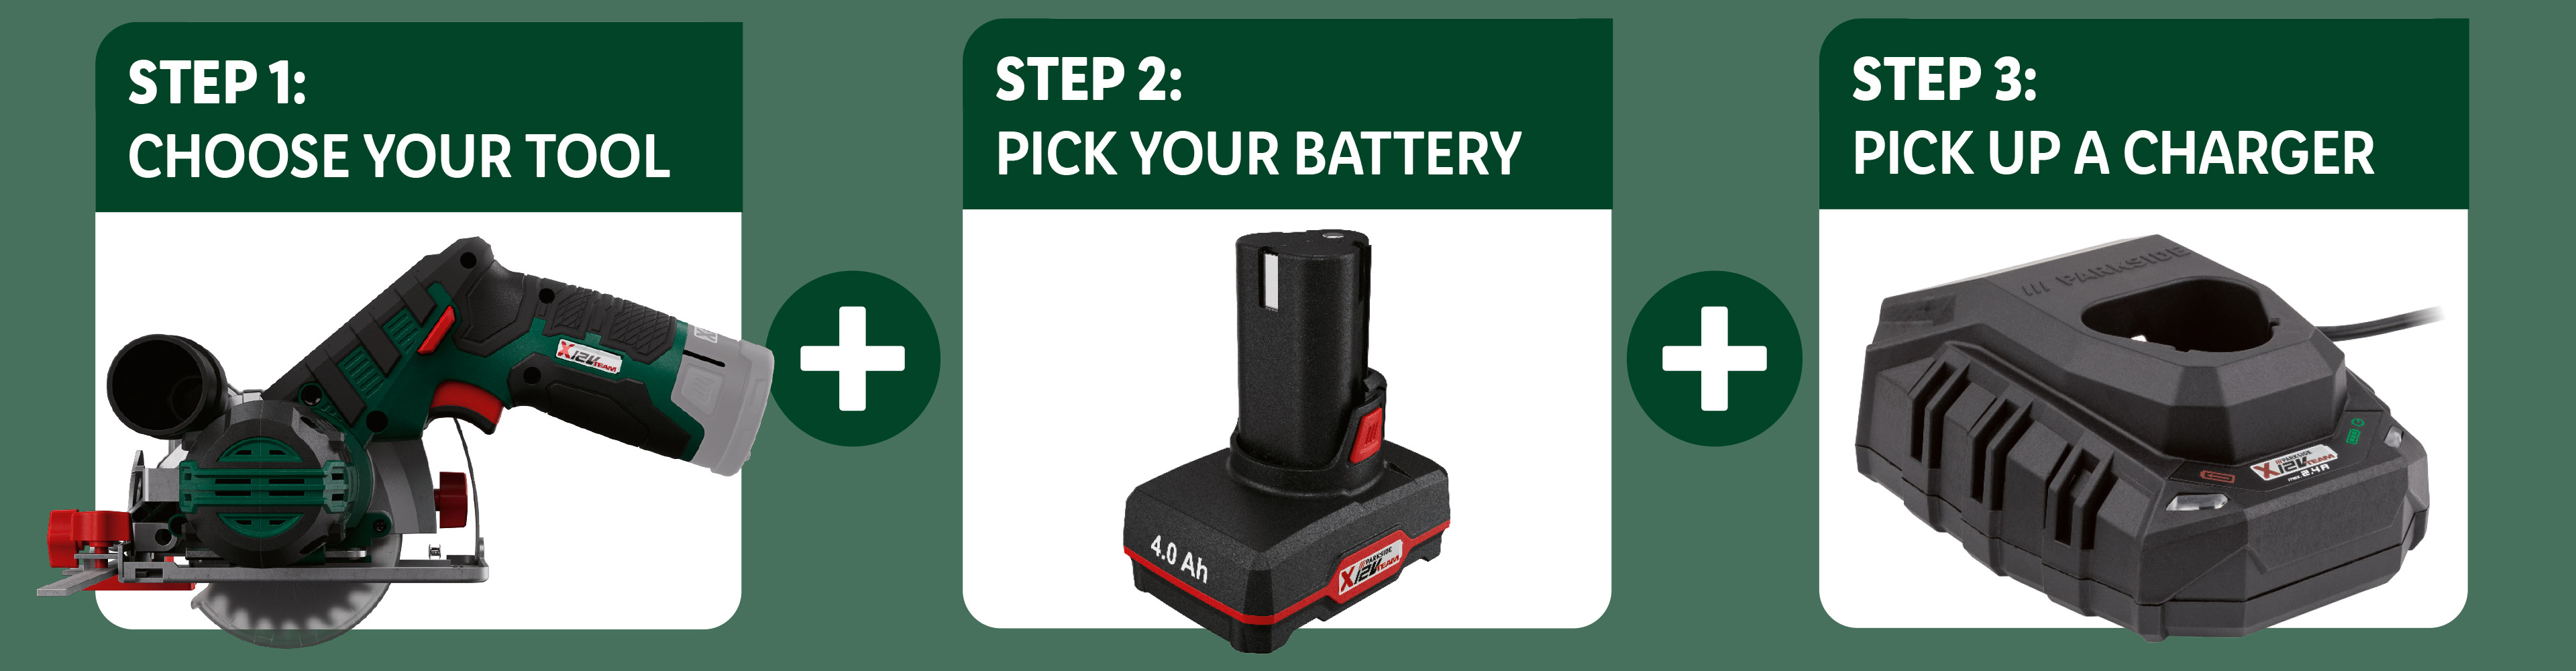
The 3 Steps To D.I.Y. Success
- 1
Step 1 - Choose your tool
Whether you're drilling, cutting, strimming or sanding, pick the right Parkside tool for you.
- 2
Step 2 - Pick your battery
Power up and crack on with our range of Parkside batteries, available in different sizes to suit your tool's needs.
- 3
Step 3 - Pick up a charger
Out of juice... no problem. 'You got this!'. Our chargers will get you back up and running.
You Got This!
Our New Parkside Ambassador!

Tutorials

How to Build a Coffee Table
Check out our Parkside Tutorial to see how to build a Coffee Table with Parkside. See below for step by step instructions

How to use the Parkside Pillar Drill


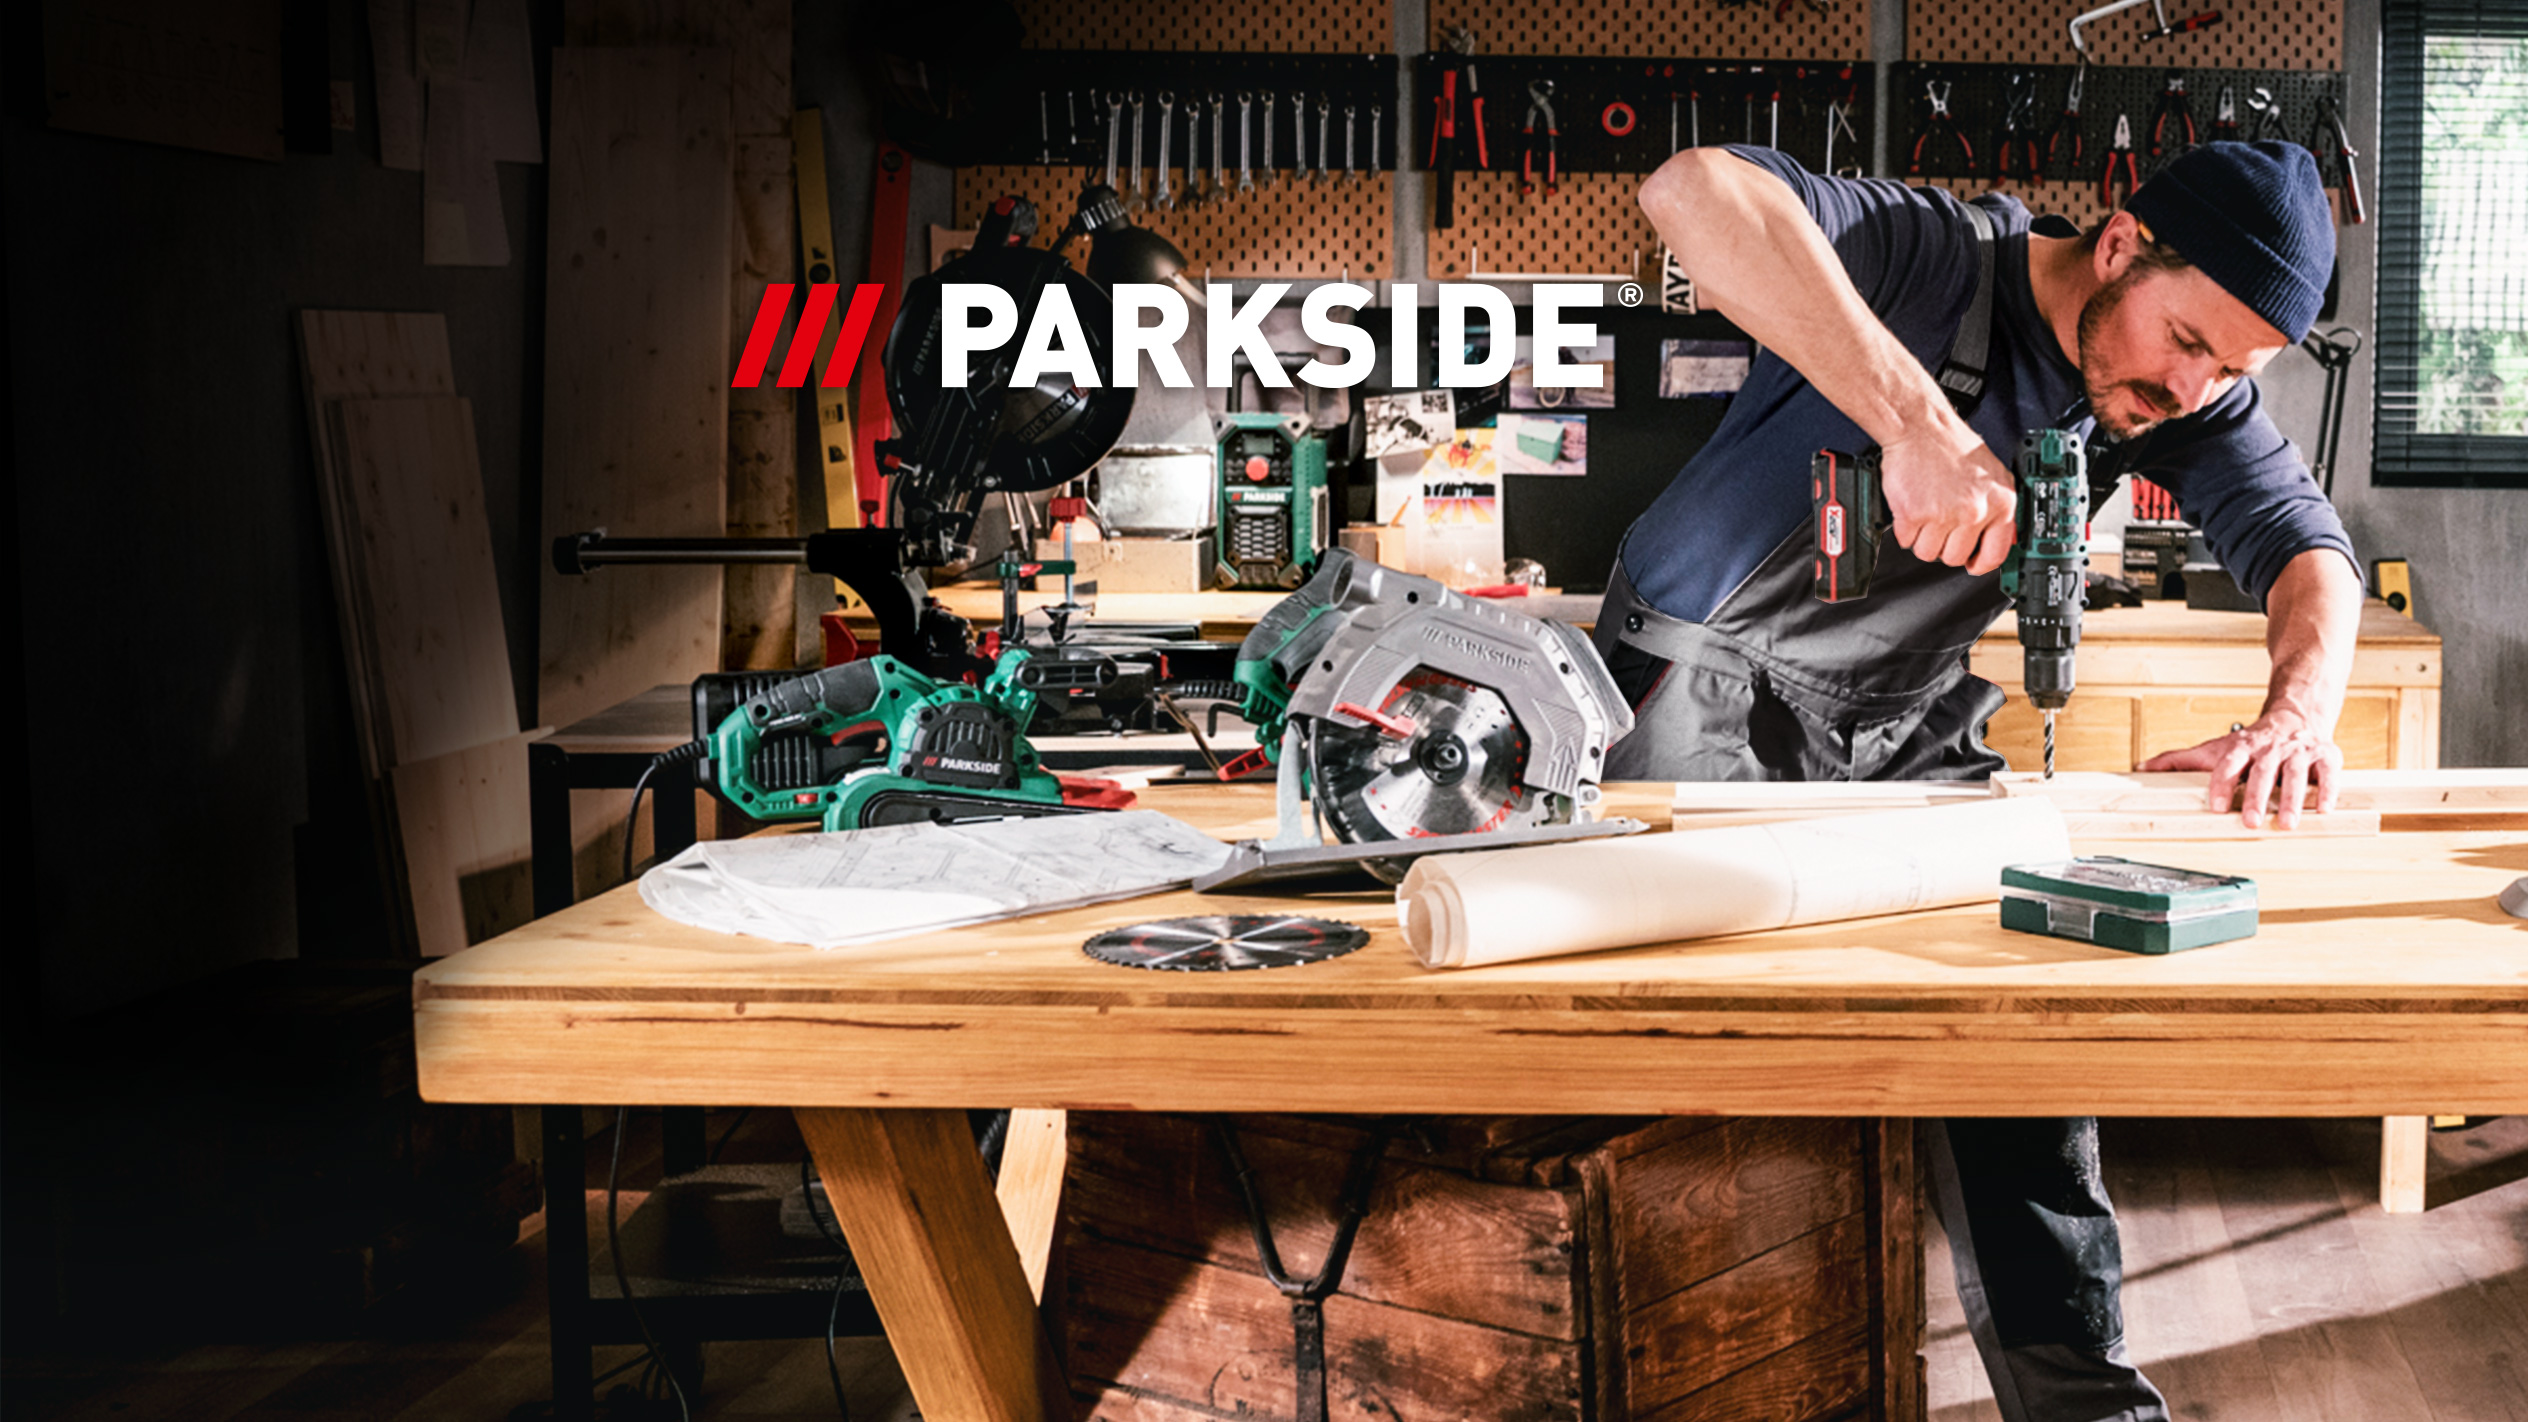
Parkside does every job
The right tool for every occasion: with PARKSIDE devices, your workshop is equipped for every project.
Because our range includes all types of power tools and, of course, a wide range of accessories.
PARKSIDE not only offers a variety of devices, but is also a reliable helper for your next DIY project through strict safety and quality controls. The tools are so popular because of their excellent price-quality ratio and high performance level in the DIY sector.

Always at maximum power
With the PARKSIDE battery family, even the most difficult daily tasks can be handled easily. Batteries for all tools, from drilling to cutting. Just charge up and off you go. Great performance combined with cordless freedom for your next project.
If you need to move around the house smoothly and large tools are out of place, you are in the right place with our high-performance electric tools from the PARKSIDE X 12V Team series. A picture can be hung up quickly with the Cordless Drill, no edge of the room is too narrow for our Angle Grinder and if you run out of charge, the charger is right there.

To complete the basic equipment of your workshop and for more demanding jobs, you will find the perfect support in the PARKSIDE X 20V Team series. The large selection of precise and flexible electrical tools such as the Cordless Impact Wrench or Paint Spray Gun will not leave you dissatisfied

Be the first to know when Parkside is in stores!
Shhh keep this to yourself, but did you know you can get our weekly offers direct to your inbox? Subscribe to our bi-weekly newsletter to be the first to see offers, middle aisle bargains, new products and more
Click here to sign up to our newsletter!